I went to the TSC Store, one day, looking for chicken wire and came out with a cast iron panini press. That panini press is now one of my all time favourite impulse purchases.
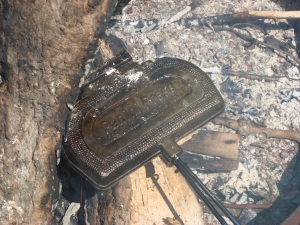
We took it with us to Darlington Provincial Park and used it to make some gourmet eats at lunch time.
 Panini Press on the Fire" width="300" height="225">
 - Panini Press on the Fire
I’m not going to tell you what to stuff your panini roll with. You can stuff it with anything you like. The important steps are: to butter the outside of your panini roll on the top and bottom, to help keep it from sticking and to make the outside crunchy; and to use enough cheese to make it melty and gooey and to stick both sides of the bun together.
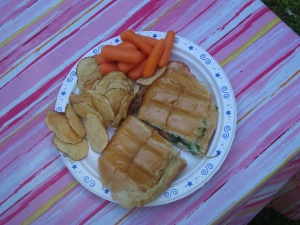
 Eatin'" width="243" height="182">
 - There's Some Good Eatin'
I can certainly offer our panini filling as a suggestion. It was delicious. We used two slices of Jalapeno Havarti, salad greens and two slices of President’s Choice Tandoori Chicken cold cuts. It had a little kick to it. Next time I’d love to try making tuna/Swiss melts. I’m drooling just thinking about it.
The panini press was very simple to use, in fact, it explained itself. We assembled the sandwiches in the press, closed it and placed it in the campfire. We weren’t sure how long to leave it on the fire, so we checked on the sandwiches several times through the cooking process. Fires vary in intensity, so I imagine the cooking time is different every time. I had seasoned the iron beforehand so cleanup was easy. All-in-all, my panini press was easier and less messy to use than we feared. It now has a permanent place in the trailer.
A word of caution, though, the iron stays very hot for quite a while. Make sure you leave it to cool in a place where no one is likely to accidentally touch it.
N.B. this post has been moved over from it's original location at Cottage On Wheels.


No comments:
Post a Comment